Teacher: step by step your first own game
Creating your own game; it is much easier than you think!
In this short guide you will learn it step by step.
Or watch this explainer video first .
First log in to the teacher’s page.
(Clicking on it opens the teacher’s page in another browser screen. It is useful to have both screens open, next to each other).
Step 1: Click on Our games:

Step 2: Click on New game:

Step 3: Fill in a title (1) for the game (e.g. ‘Testgame’) and select a class or classes (2) for which the game is intended:
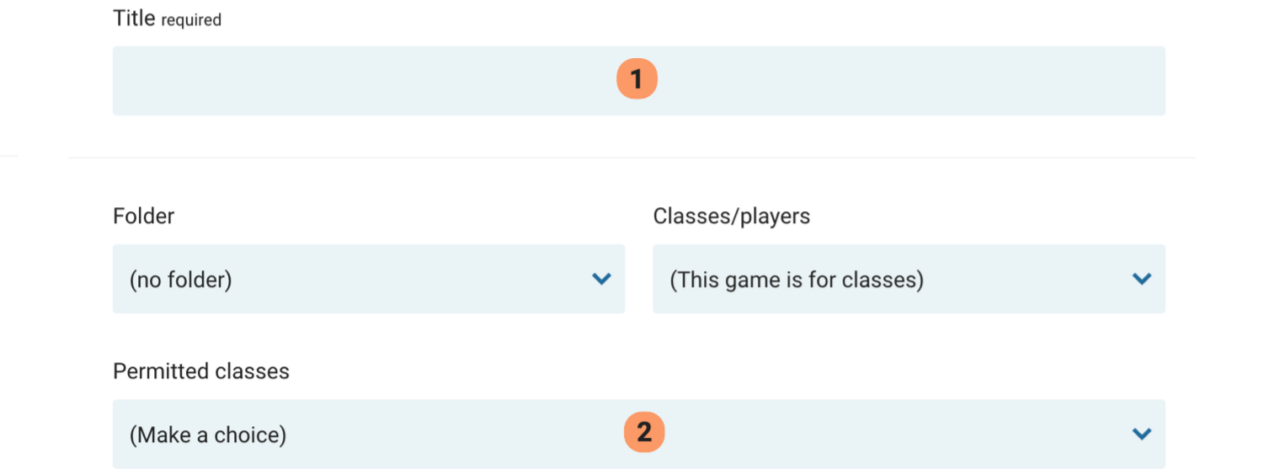
Then click (upper right) on Save.
Step 4: Every Earz game consists of one or more levels. Now click on New level:

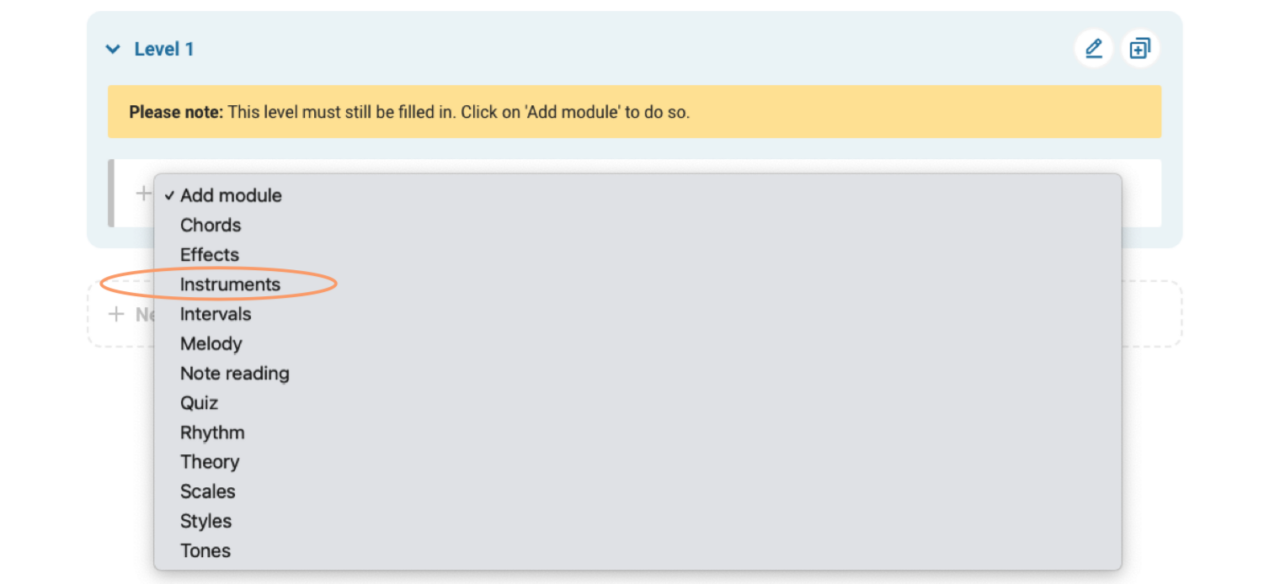
Step 5: A game is always based on one or more modules. Click on Add module and select (as example)Instruments:
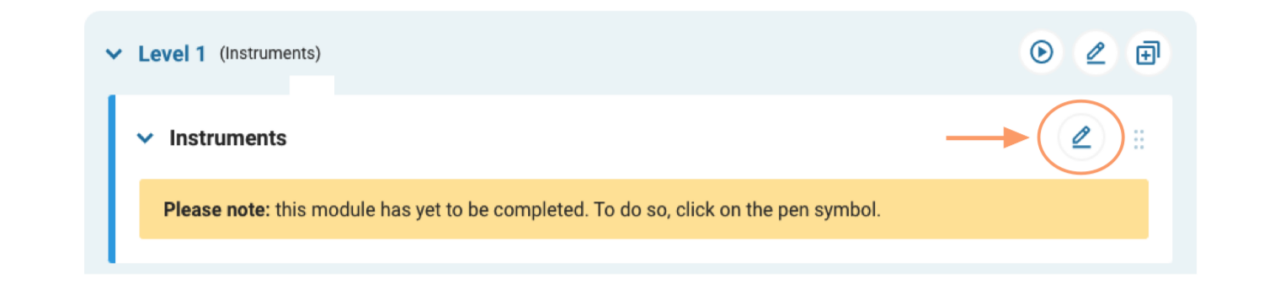
Step 6: We must now specify which instruments we want to select. To do so, click behind Instruments on the pen symbol:
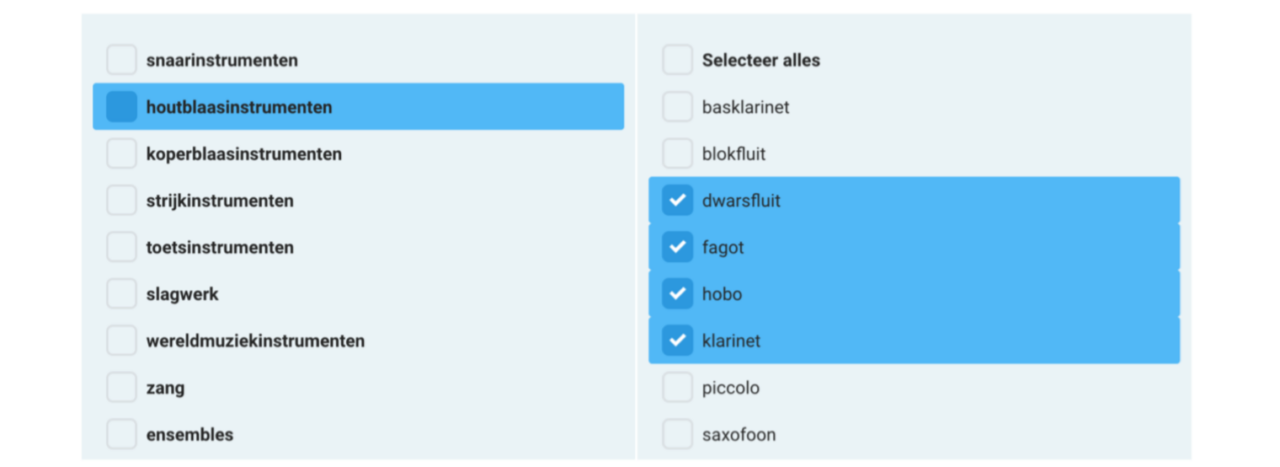
Step 7: Select the desired instruments:
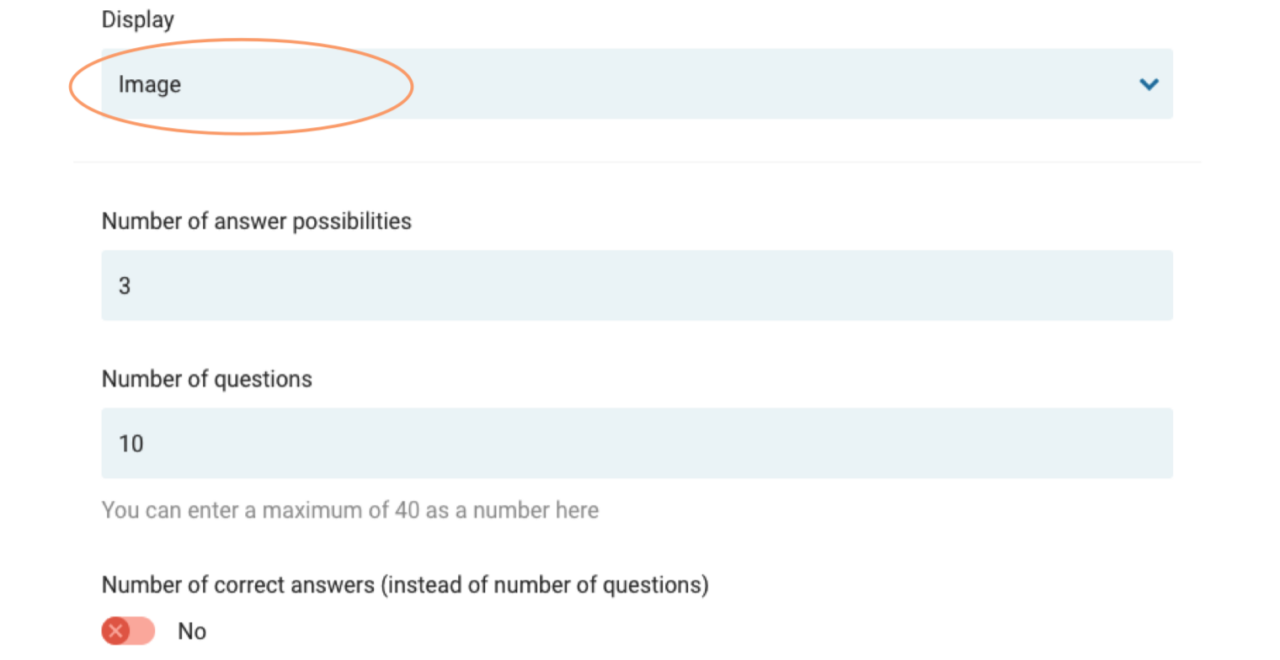
Step 8: Depending on the module, there are always various configurable options for how the game functions in the app.
For example, choose Display as Image and click on Save:
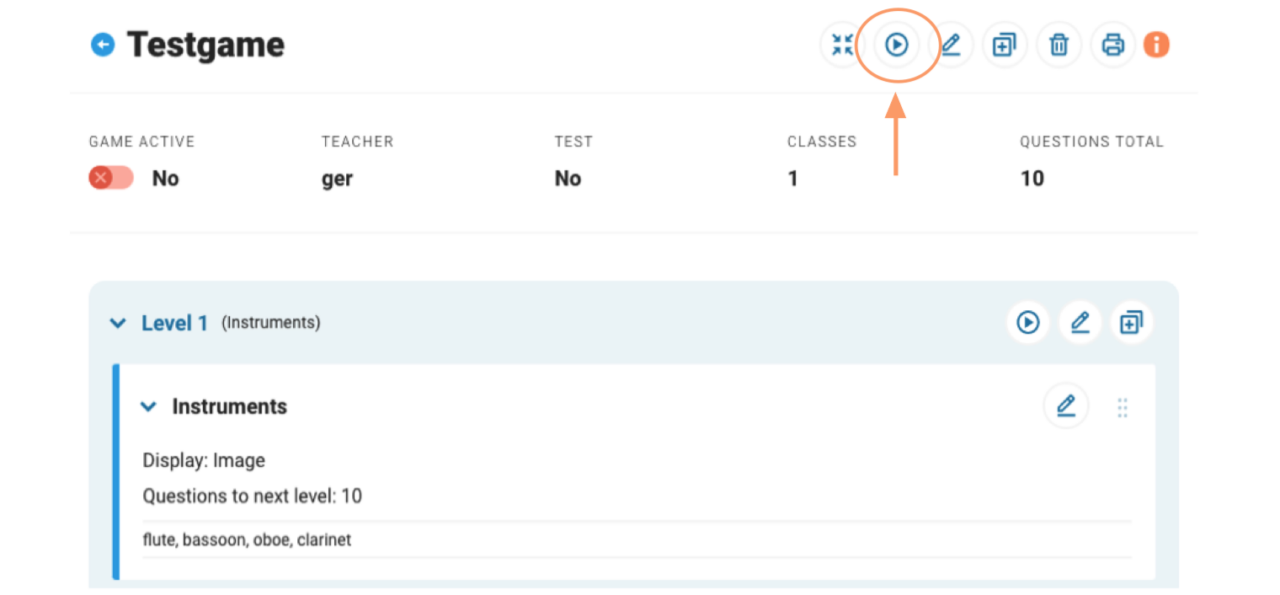
Step 9: The game is now ready and you will see an overview of its contents. Now click on the Preview button to test the game:
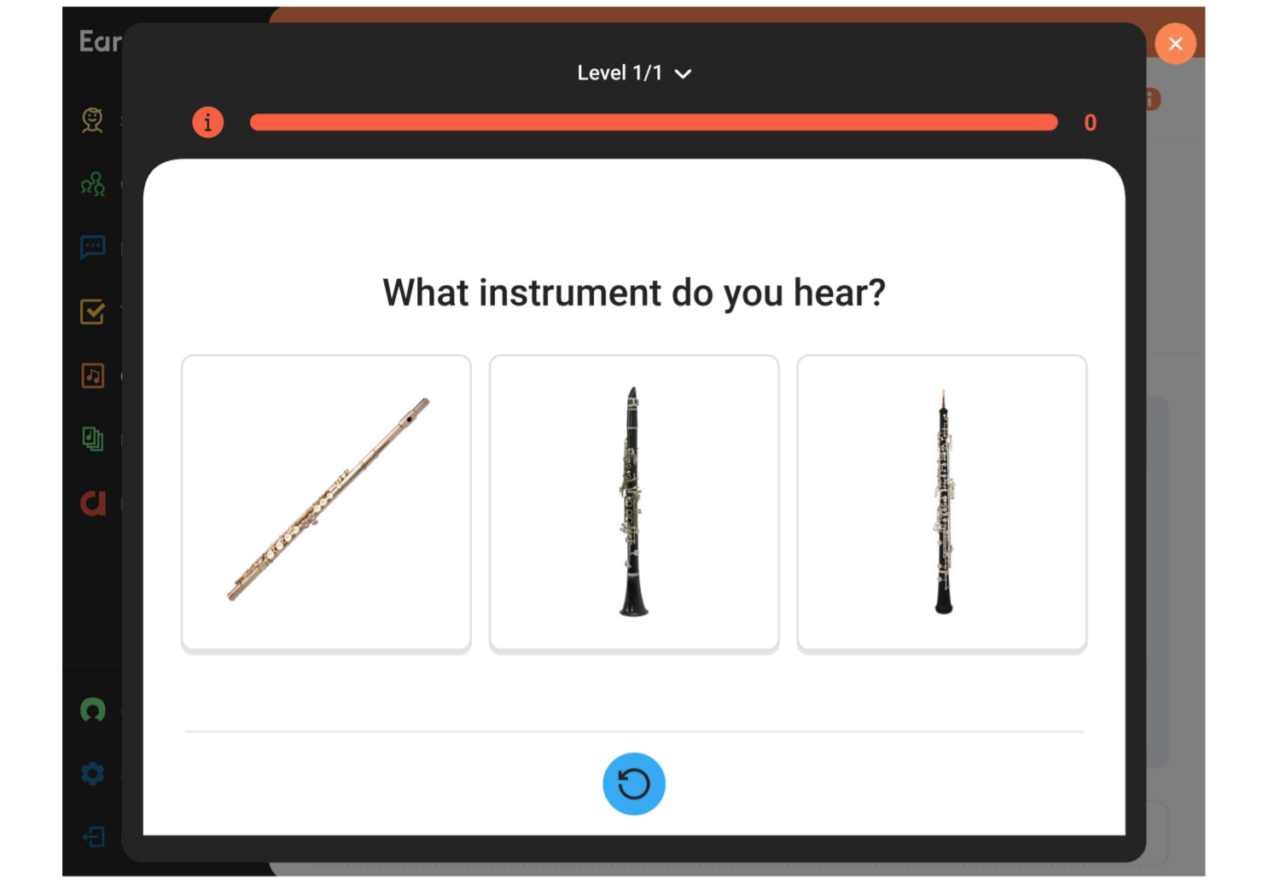
Click on Play and you will see the game in action:
Click on the orange button at the top right to exit preview.
Step 10: The game is not yet visible to the students. From the moment you set Game active to Yes, the game can be played in the app by the students:
